
Overview
This How To describes the steps required by the customer, to create his own store in QeS CRM, after successful registration.
The intended audience of this document are the QeS customers.
Creating your Store
Welcome to Quick eSelling platform. To launch your eCommerce store, you need to register on Quick eSelling site (www.quickeselling.com).
To sign up on Quick eSelling and create your own store, follow below steps:
- Browse www.quickeselling.com from any web browser and click the Sign Up button.
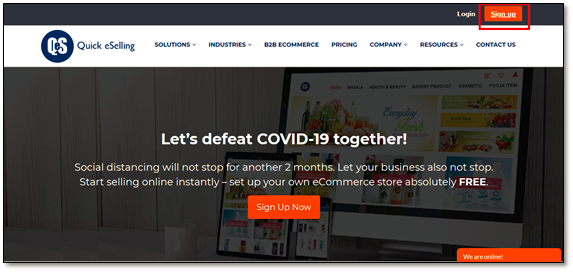
Figure 1: Home Page > Sign Up
- On clicking the Sign up button, the below registration page opens.
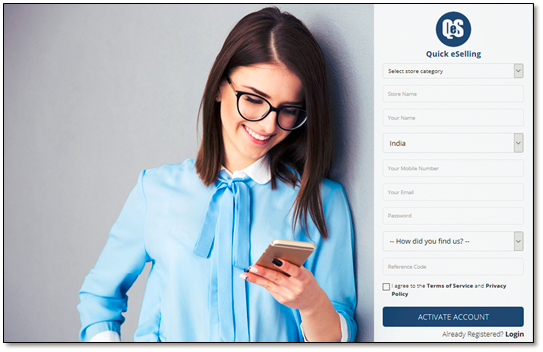
Figure 2: Registration Page
- On this Registration page, enter your details to create your store.
- Select store category: Select your store’s category as applicable, from the various categories provided in the drop down list, as shown in the below figure.
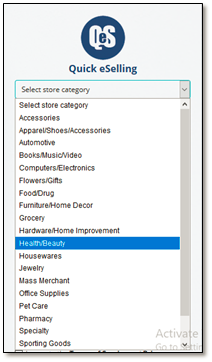
Figure 3: Select Store Category > drop down options
- Store Name: Enter your desired store’s name.
Note: If the Store Name already exists, the system prompts you with an alert notification for the same.
- Your Name: Enter your name.
- Select Your Country: Select your country from the drop down list.
- Your Mobile Number: Enter your mobile number.
- Your Email: Enter your email address. This email address will be used for logging Quick eSelling, once you are registered.
- Password: Enter a valid password for your email address. A password must consist of a minimum of eight (8) characters, including uppercase, lowercase, one (1) special characters, and one (1) number.
- How did you find us? : Select the appropriate option applicable to you as to how do you get to know about us.
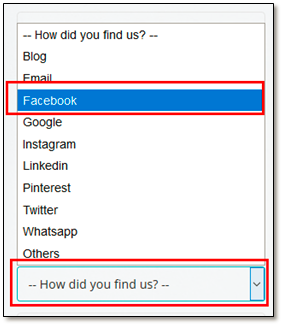
Figure 4: How did you find us? > drop down options
- Reference Code: Enter the reference code, if you have any.
- I agree to the Terms of Service and Privacy Policy: Once you have entered all the above entry fields; we recommend you to read the policy first. If agreed, then select this check box and proceed further.
- Activate Account: Click this button to activate your account for the details as provided above.
On clicking this button, the Quick eSelling will display confirmation of successful activation of your account (store) as well as acknowledge you for the successful registration of your store by displaying the below screens respectively.
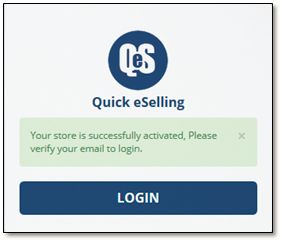
Figure 5: Confirmation of successfully activation of your store
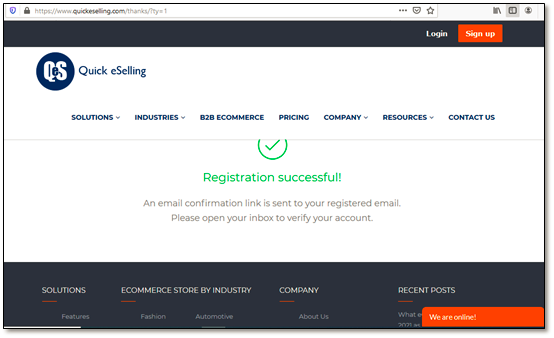
Figure 6: Acknowledgement notification of successful registration
- Simultaneously, you will receive a Welcome mail from Quick eSelling on your registered email. Hence, login to your registered email address, open the welcome mail from Quick eSelling and click Verify to complete the verification process.
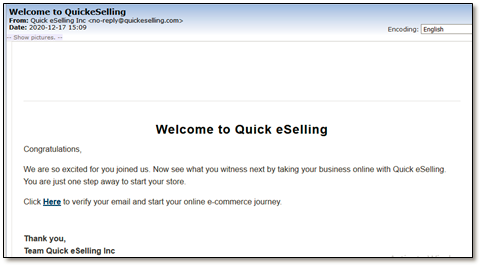
Figure 7: Welcome mail from Quick eSelling on the registered email address
- As soon as you click the Verify link and complete the verification process, you will directly land up to your newly created store’s Dashboard page, as shown below.
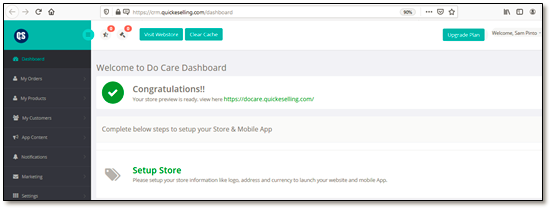
Figure 8: Your Store's Dashboard
- Congratulations! You are a registered customer of Quick eSelling and can proceed further for your desired e-commerce business of the created store.
Comments
0 comments
Article is closed for comments.